DIY vs. Professional Window Tinting for Tesla: A Comprehensive Comparison of Cost and Quality
When it comes to upgrading your Tesla, one question often pops up: should you tackle window tinting yourself or leave it to the professionals? This might seem like a simple choice—after all, who wouldn’t want to save some cash? But as you'll soon see, the decision isn't just about dollars and cents. Each option comes with its own mix of pros and cons that can significantly impact the look of your car. Having explored both sides myself, I see how DIY can spark creativity but also lead to unexpected hurdles, while professional services promise a polished finish without the trial-and-error hassle. So, let’s dive in and compare these two paths to find out what suits your Tesla best!
The key differences between DIY and professional window tinting for a Tesla lie in skill level and potential outcomes; while DIY efforts can save money, they often lack the precision required for complex curves found in Tesla windows, leading to issues like dust, creases, or bubbles. Professional window tinting ensures a flawless finish due to the expertise of trained technicians, making it the preferred choice for achieving high-quality results in critical applications.
DIY vs. Professional Window Tinting for Tesla
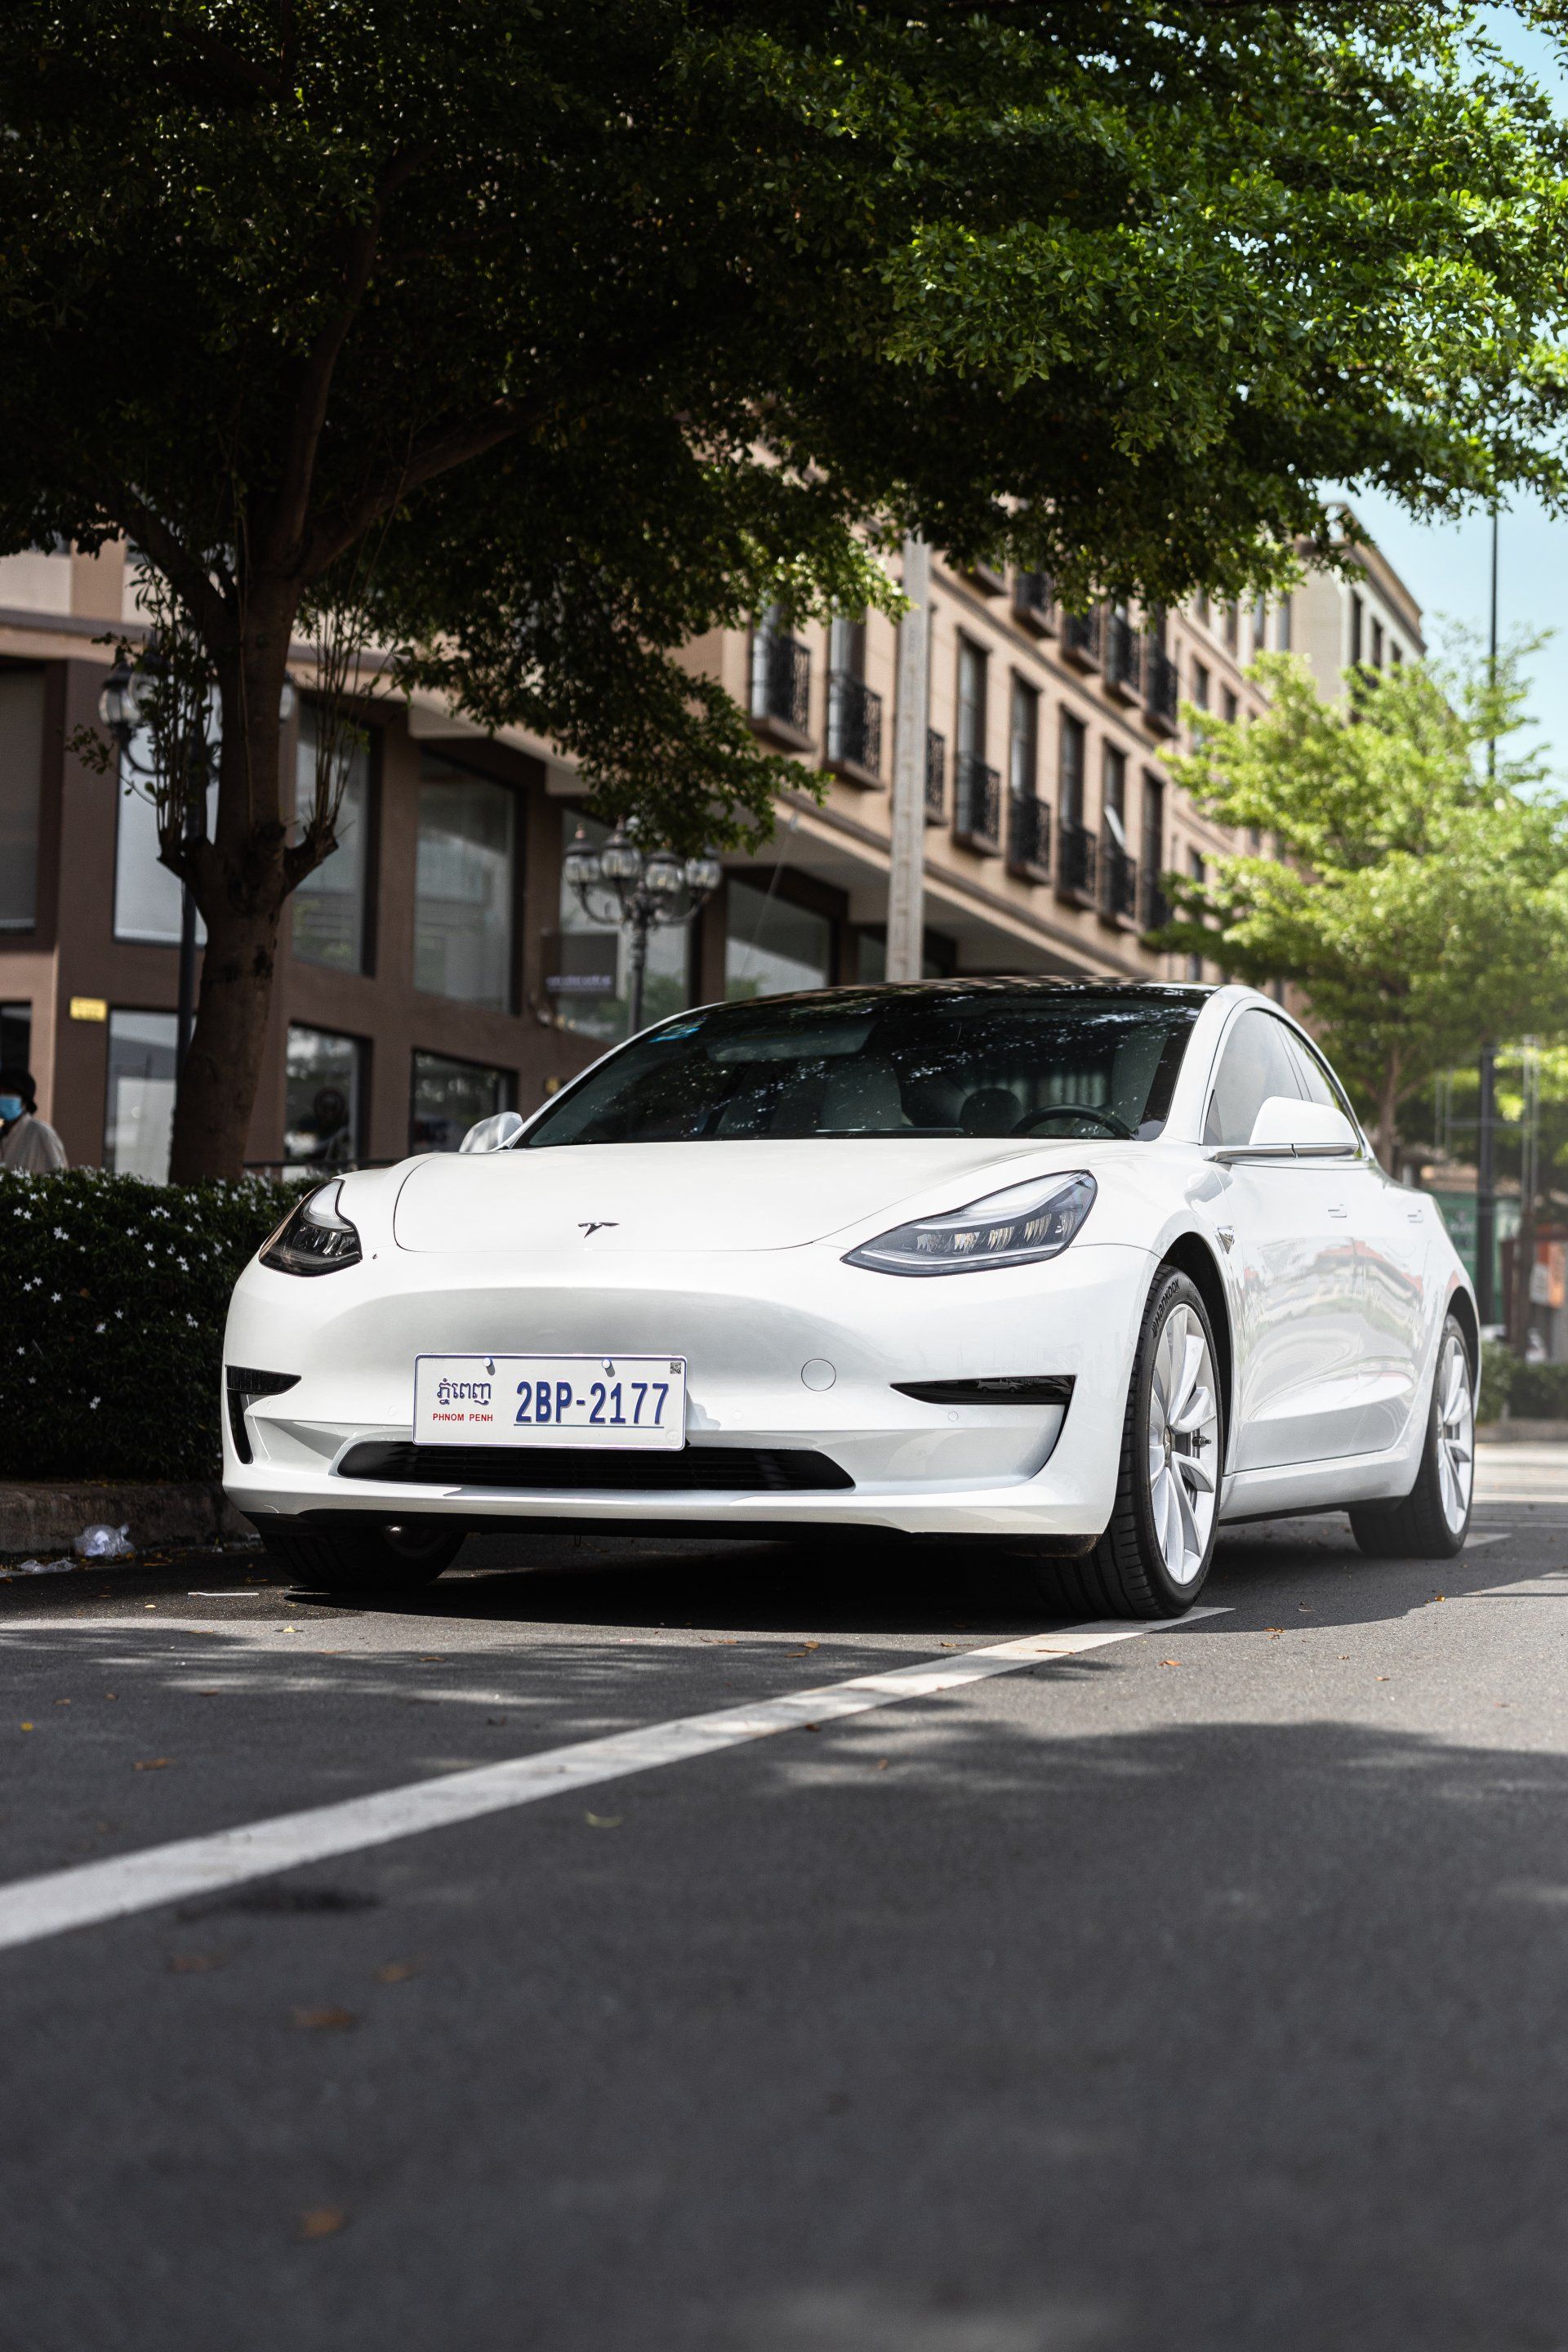
DIY kits for window tinting present an enticing option for many Tesla owners due to their affordability, with prices typically ranging from $50 to $150. These kits often come equipped with pre-cut films tailored specifically for Tesla models such as the Model 3 or Model Y, simplifying the application process for less experienced individuals. However, while the savings are considerable, careful application is vital; one small mistake could lead to unsightly creases or bubbles that detract from the car's sleek appearance.
Users on platforms like Reddit discuss their mixed experiences with DIY tinting, highlighting that those who possess some detailing skills may fare better than others. People familiar with tasks such as vinyl application or detailing may find satisfactory results after a learning curve. However, if you're not adept in these areas, it's important to approach the project with caution, as curved windows pose additional challenges requiring advanced techniques that flat surfaces do not. It's not all about just applying the film—understanding and preparing thoroughly can greatly influence your success rate.
Professional Window Tinting
On the other hand, opting for professional window tinting services carries a different weight altogether. Prices for these services generally fall between $300 and $800, depending on factors like the type of film selected and the intricacy of the job at hand. Many users emphasize that this investment often translates into superior results, especially in terms of precision and overall finish quality. The skilled labor involved is where much of that cost stems from—professionals have honed their craft to minimize common issues such as dust particles, wrinkles, or creases during installation. While DIY window tinting can be appealing due to low upfront costs and the satisfaction of accomplishing a task yourself, professional services might be preferable based on desired outcomes and quality assurance.
Weighing Your Options
With both choices presenting unique advantages, it’s crucial to evaluate personal skill levels and expectations against potential outcomes. DIY projects can be fulfilling—but they come with very real risks of imperfection without prior experience. In contrast, professionals provide an assurance of quality but at a higher price point. For those considering tinted windows on their Tesla, determining which route aligns best with personal abilities and priorities will truly dictate which option is right for you.
Understanding these considerations will pave the way for a deeper examination of how each choice stacks up in terms of financial implications and expected quality.
Comparing Costs: DIY vs. Professional
- DIY Costs: When you decide to tackle window tinting yourself, you're typically looking at an average starting price of around $100 for a comprehensive DIY kit tailored specifically for Teslas. These kits generally come with pre-cut tint films designed for easy application, along with necessary tools such as a squeegee, a precision knife, and an applicator solution. However, while this may seem budget-friendly, keep in mind that potential pitfalls can inflate overall expenses. For instance, if you're inexperienced, mishandling the film could create bubbles or wrinkles, which might require purchasing additional film or tools to fix mistakes. It's not just about the initial investment; it’s essential to consider the learning curve and the possible extra costs incurred from trial and error.
- Professional Costs: On the other side of the spectrum lies professional installation, where costs start at around $300 and can soar up to $800, depending on various elements including the quality of the film and labor rates in your area. What's noteworthy is that premium films—like ceramic tints—can push prices even higher, sometimes approaching $1000. While it may seem steep, professional services offer not only expertise but also a guarantee of quality and durability that DIY cannot always match. Professionals have the experience necessary to install these films flawlessly without typical rookie mistakes that could compromise your investment. They usually provide warranties covering both materials and workmanship. This added assurance can save you from future regrets.
It’s important to weigh these financial aspects properly; after all, a beautifully tinted window enhances your Tesla's appeal while protecting its interior. Although cost considerations are crucial in this decision-making process, understanding how these methods influence performance and longevity will further guide your choice.
Quality of Tint Films
The quality of window tint films plays a significant role in the performance and appearance of your Tesla's windows. When you opt for a DIY solution, you might find the available films can be hit or miss. A common issue is that many DIY kits on the market use lower-grade materials, leading to disappointing results.
The reality is that not all tint films are created equal. Most DIY options are designed for quick application, which often compromises their durability and effectiveness. For instance, these cheaper films can fade over time, lose adherence, or react poorly to temperature changes. Not to mention, they typically lack essential features like UV protection or heat rejection, which are vital for enhancing comfort inside your vehicle and protecting its interior from sun damage.
- DIY Quality: When it comes to DIY projects, the cinematic thrill of a successful transformation can sometimes overshadow potential pitfalls. However, it’s crucial to remember that cutting corners often leads to regrettable outcomes. Poor-quality films may seem appealing due to their lower cost, but as John realized firsthand, they can lead to aesthetic issues that affect your vehicle’s overall look. In most cases, low-cost materials will have a diminished lifespan, which means you’ll likely find yourself back at square one—contemplating another tint job sooner than you'd hoped. When comparing how long various films last, you’ll discover that many professional-grade tints offer extensive warranties and are engineered for longevity.
- Professional Quality: On the flip side, opting for professional installation ensures you receive high-grade films. These premium options don’t just look sleek; they offer superior UV protection and significantly better heat rejection capabilities compared to their DIY counterparts. The difference is palpable—you'll notice a more comfortable cabin and less glare while driving through bright sunshine. It's like switching from subpar headphones to high-fidelity sound; it enhances your overall experience. Furthermore, professional tints often come with warranties that can last up to ten years or longer. This level of assurance speaks volumes about the manufacturer's confidence in their products' durability. Imagine installing something that looks great now and continues performing well years down the line without peeling or discoloration—that's what professional-grade tint offers.
While DIY may seem attractive due to its lower initial costs, consider what you are sacrificing. Investing in higher-quality films installed by professionals not only improves aesthetics but also significantly elevates your Tesla's functionality and comfort level in the long run. With an understanding of how costs and quality compare between options, let’s explore the specifics of how these installations are executed.
Step-by-Step Installation Overview
Installing window tint may appear to be a complex task at first glance, but breaking it down into manageable steps can make the entire process much more approachable. Preparation is key; before anything else, you must start by cleaning all the windows thoroughly. Dust, dirt, and smudges can disrupt the adhesion of the film and lead to a frustrating experience filled with bubbles and imperfections. Therefore, take the time to use a quality glass cleaner and microfiber cloth—ensuring that every corner is spotless. This initial diligence will pay dividends later on; think of it as laying a strong foundation for a house.
Once your windows are gleaming, the next step involves cutting the film. If you haven’t purchased a pre-cut kit specifically tailored for your vehicle or space, you’ll need to measure your windows accurately and then cut the film accordingly. Always remember to allow for an overlap of about an inch on each side for trimming accuracy. This extra bit of film will give you some leeway during application, so don’t shy away from cutting a tad larger than necessary.
After preparing your film, mix your application solution—a simple blend of dish soap and water works wonders here. The soap provides enough slip to reposition the film during application without ruining adhesion. When you spray this solution onto the window prior to laying down the film, it transforms what could be a sticky mess into an adjustable canvas, allowing you to work out those pesky bubbles effectively.
Next comes the actual application of the film to the window glass. Here lies one of the most crucial aspects: positioning the film correctly from the top downward while gently smoothing out air bubbles with a squeegee as you progress. It’s important to apply firm yet gentle pressure; rushing can create creases or leave trapped air that not only looks unsightly but can also lead to premature peeling or damage.
As you reach the end of this process, remember that trimming any excess film ensures a perfect fit around all edges of the glass, enhancing both aesthetics and functionality. After trimming, take a moment for a final inspection; smooth out any lingering bubbles or imperfections with light pressure using your squeegee. And if there are stubborn spots—don’t panic! A little extra attention here can turn a decent job into something you’ll proudly showcase.
Ultimately, this careful attention during each stage makes all the difference. Although the process requires meticulous detail, it is incredibly rewarding when done correctly. If you're new to this whole ordeal, focus on pacing yourself and remain patient; like any craft, practice will enhance your skills over time and help build your confidence in future projects.
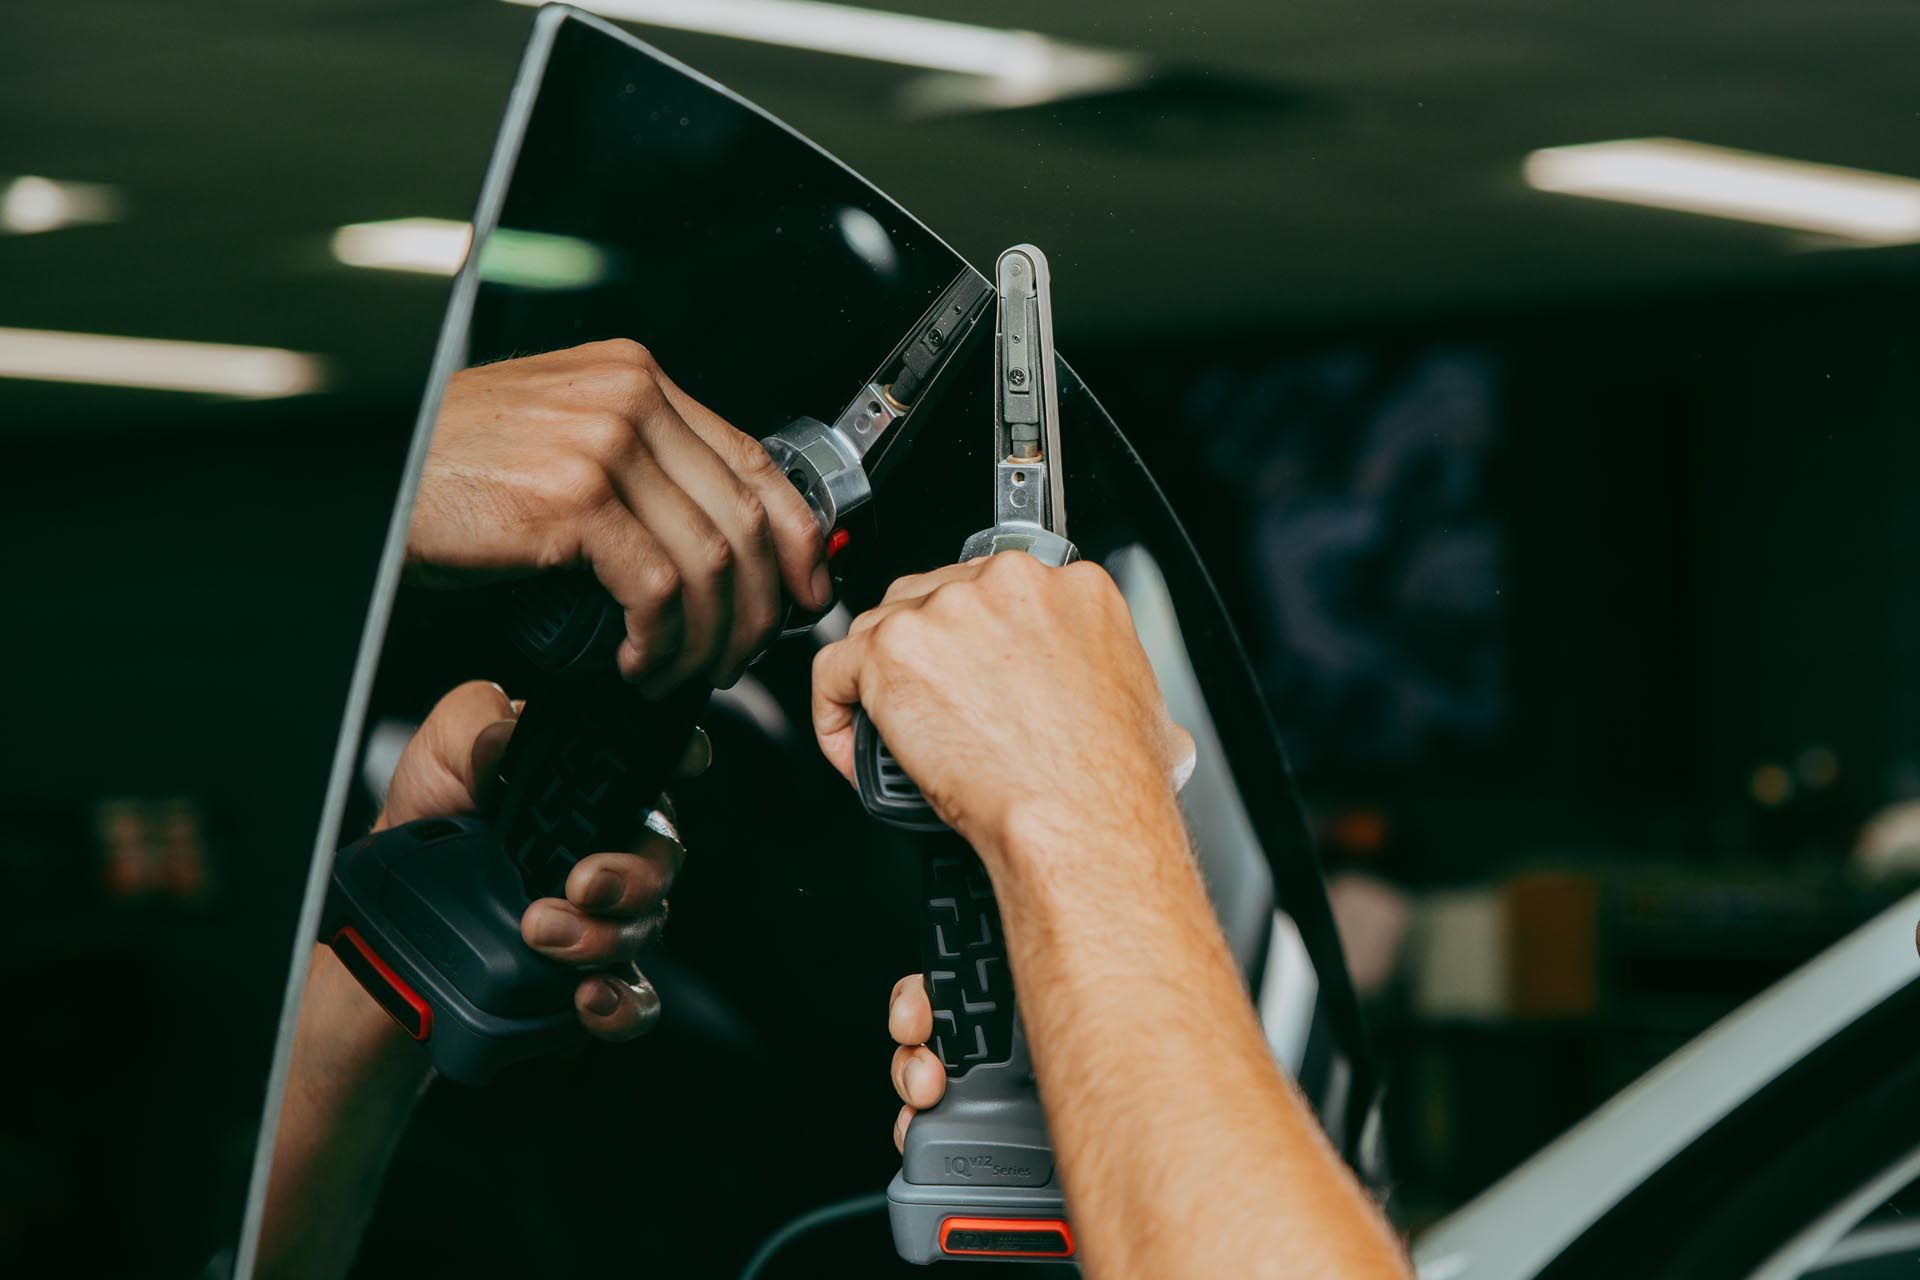
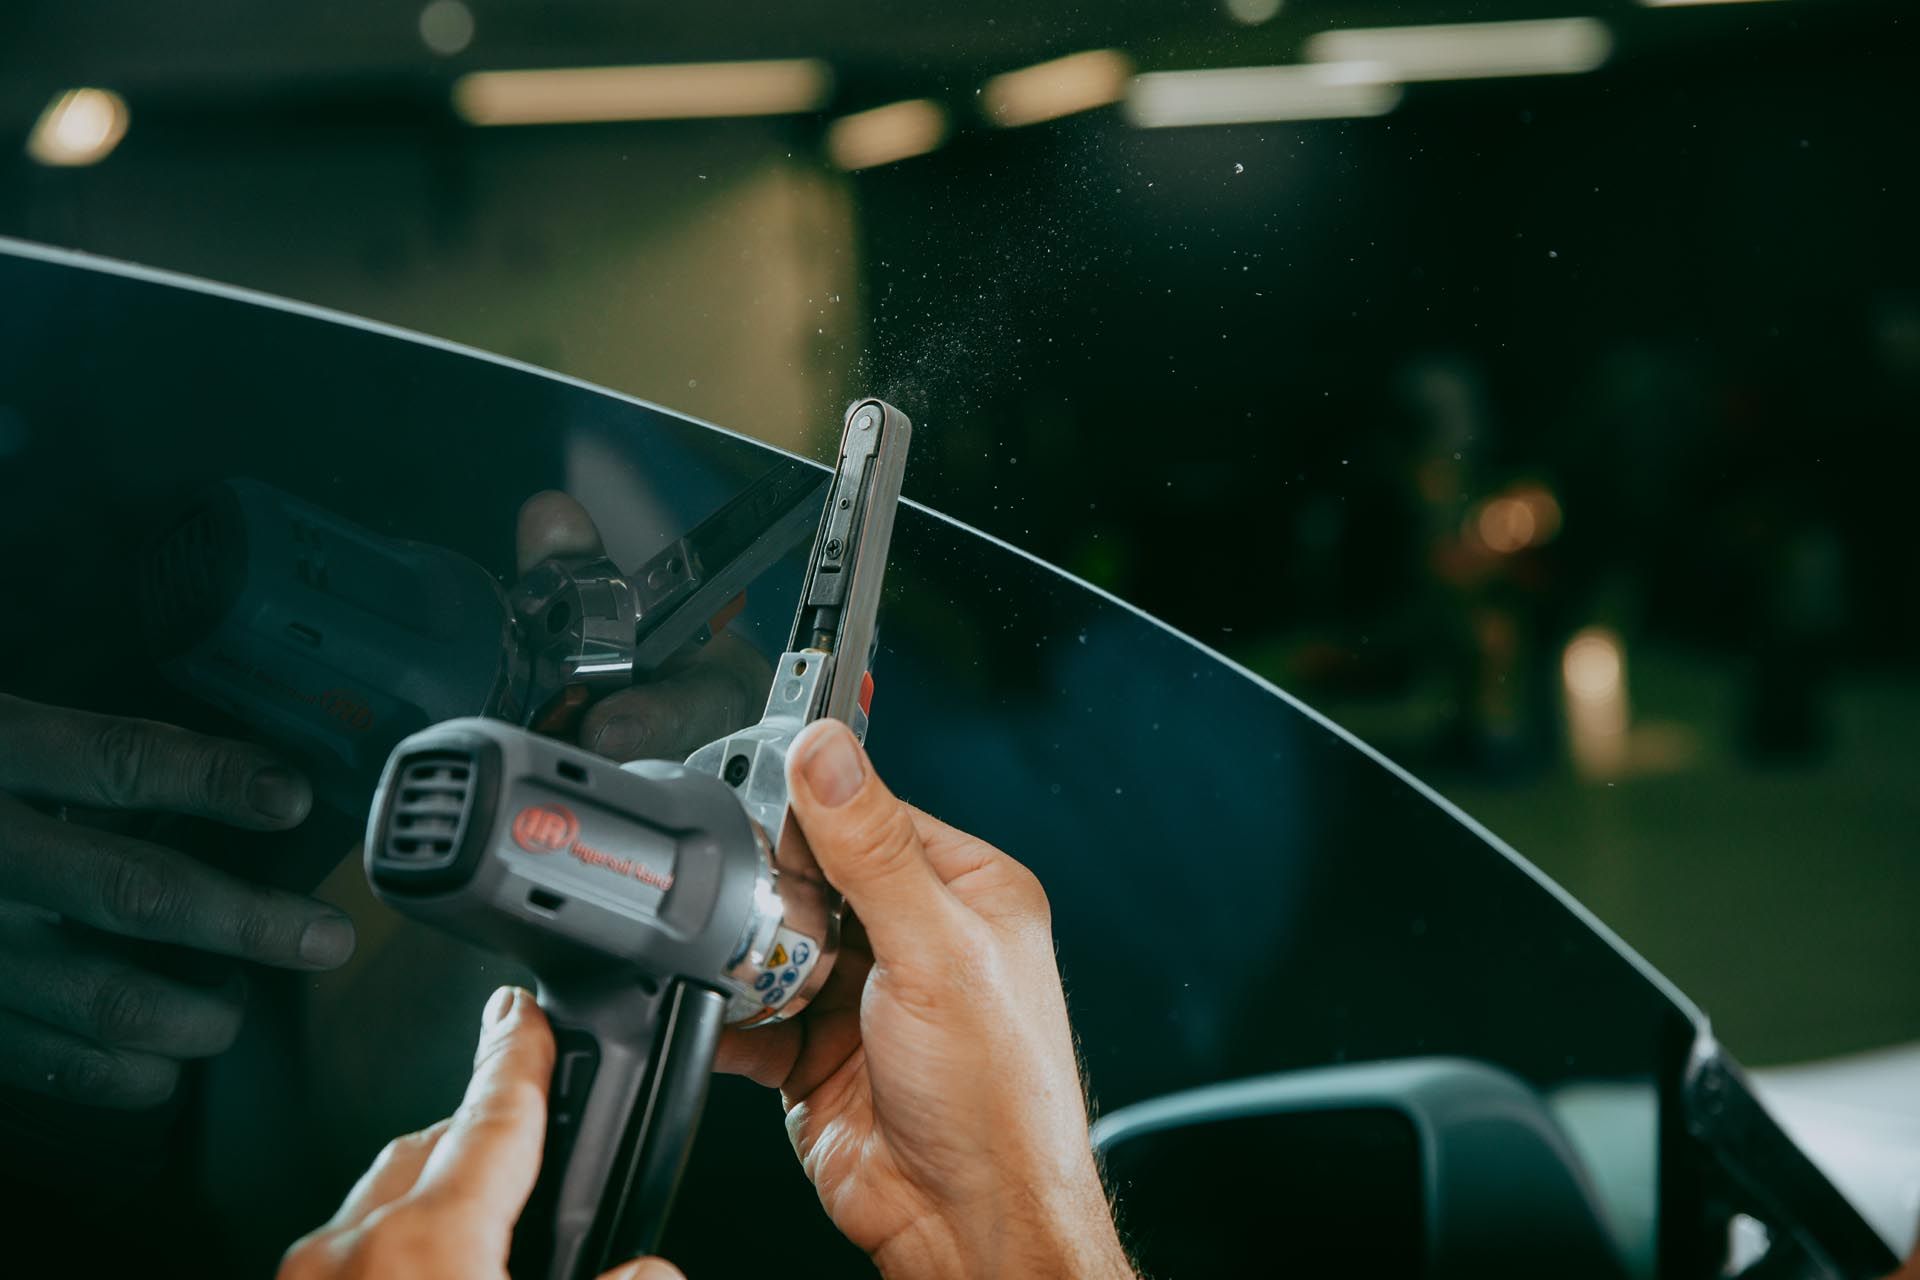
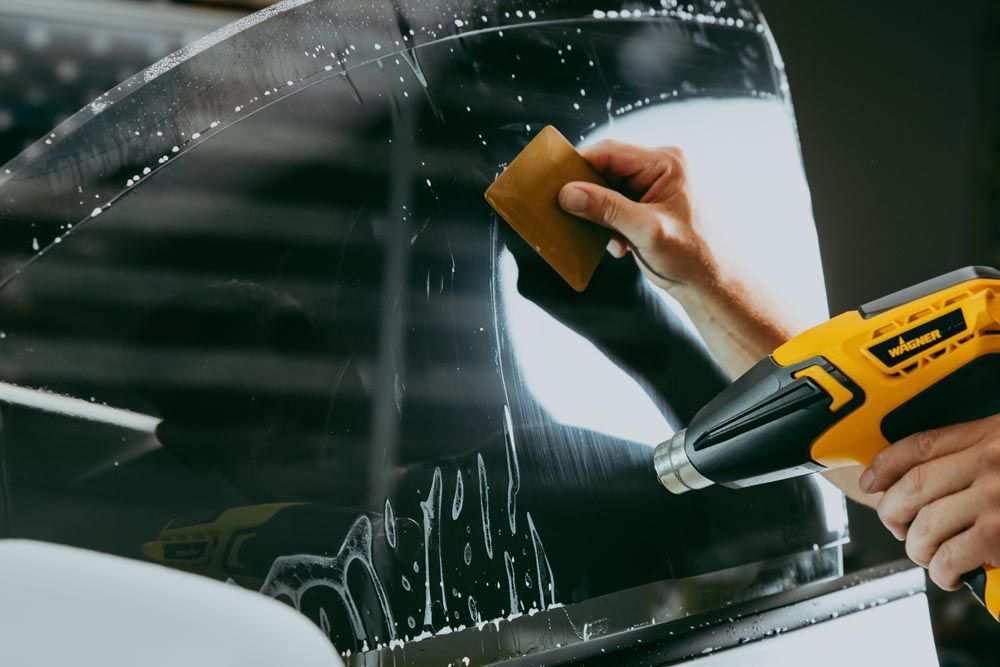
While DIY approaches have their merits and savings potential, taking into account that professional installation offers advantages such as advanced tools—including heat guns and specialized squeegees—cannot be understated. Professionals possess expertise particularly valuable for dealing with tricky applications like curved windows that require precise handling.
As we consider these approaches further, we begin to uncover distinct characteristics each method exhibits. Whether one resonates more with technical prowess or seeks efficiency reveals much about individual preferences in window tinting.
Advantages of DIY and Professional Methods
One key advantage of the DIY approach is cost-effectiveness. For those who might not want to spend several hundred dollars on professional services, opting for a DIY tinting kit typically ranges from about $50 to $200. This provides ample room for experimentation without worrying too much about damaging your wallet.
Beyond the monetary savings, there's something incredibly satisfying about tackling a project yourself. The sense of accomplishment after successfully applying that tint film and stepping back to admire your handiwork? That's priceless. Not only do you save money, but you also gain practical skills that can be useful for future projects, becoming more adept at detailing vehicles or applying vinyl wraps.
However, while DIY has its perks, it isn’t without challenges. In contrast, the advantages of professional window tinting are undeniable. When you invest in professional services, you’re paying not just for materials but also for skilled labor. Professionals typically bring years of experience to the table—understanding how to handle challenges like dust particles or creases that may arise during application.
An impressive 95% satisfaction rate backs up their work, which often includes a warranty ranging from 5 to 10 years. This means that if anything goes wrong or doesn’t meet your expectations, you have recourse, something DIY efforts rarely guarantee. According to a survey conducted by AutoTrader, 80% of respondents expressed high satisfaction with their professional window tinting results, while only 60% were equally pleased with their DIY attempts. This disparity highlights an important point: while tackling your own window tinting might seem appealing, achieving a flawless outcome can require more skill than anticipated, especially on complex surfaces like curved windows.
Balancing these insights helps illuminate significant choices ahead for those considering their options. Ultimately, whether you choose DIY or professional service, it deserves thoughtful consideration regarding your confidence level in your skills and the complexity of the task at hand. If you're skilled at detailed work—as many who enjoy vinyl wrapping find they are—you may feel empowered to dive into DIY tinting and achieve good results with practice. Conversely, if you face this endeavor without prior experience or are tackling intricate curves—common in rear windows—it may prove advantageous to lean towards professional installation.
As we explore the practical aspects of this decision-making process, it's crucial to consider the necessary tools and expertise required to fulfill either approach effectively.
Required Tools and Skill Levels
When it comes to window tinting, whether you decide to tackle it yourself or call in the pros, you'll need to equip yourself with the right tools. If you choose the DIY route, it's essential to gather supplies that will aid in your project’s success.
A pre-cut tint film is vital since it’s tailored to fit your specific windows. Alongside this, a squeegee is indispensable; it helps push out any air bubbles that may form during application. You'll also want a utility knife to trim any excess film and ensure a clean edge. For an application spray, using soapy water can assist you greatly when positioning the film on the glass—you'll have a bit more wiggle room to adjust everything just right.
Tools for DIY Tinting
For DIY tinting, having good hand-eye coordination and patience is critical. Prior experience in detailing or vinyl application can serve you well here, although it isn't completely necessary. Many enthusiasts report that after a few attempts—often involving learning curves and mistakes—they significantly improve at executing flawless applications. It’s like learning to ride a bike; those first tries may involve some falls, but soon enough, you'll feel confident cruising along.
Tools for Professional Tinting
In contrast, for professional installations, the toolkit expands significantly. Professionals typically rely on advanced equipment such as heat guns for softening the film material to shape it properly around curved windows. Precision knives are also frequently used; these allow for exceptionally clean cuts and maneuvering around edges. Specialized squeegees designed for heavy-duty applications offer efficiency and superior results but require skilled hands to use effectively.
Ultimately, while a DIY approach needs simpler tools and steady hands—which you build over time—the professional method demands advanced equipment and a high degree of training. The choice between these two paths often boils down to budget considerations, time constraints, and your desired level of quality in your final product. Understanding this difference can set realistic expectations and dictate your approach as you prepare for tinting your Tesla windows.
In sum, whether you opt for DIY or professional tinting will depend on your skill level, available resources, and preferences regarding quality outcomes. Make an informed decision that best suits your needs and enjoy the enhanced look and functionality of your tinted windows!
Precision Window Tinting for Your Tesla in Glendale Heights, IL
Upgrade your Tesla with expert window tinting from Umbra Window Tinting in Glendale Heights, IL! Our premium window films not only enhance your vehicle's appearance but also provide crucial benefits like heat reduction, UV protection, and increased privacy. Designed specifically for Teslas, our tints maintain the integrity of your vehicle’s technology while delivering a sleek and sophisticated look. Contact us today to schedule your window tinting service and enjoy a cooler, more comfortable ride!


Umbra Window Tinting provides both expert vehicle enhancements and window tinting for residential and commercial properties in Northern Illinois and the greater Chicago area. Founded in 2003, our team has exceptional skills in ceramic coating application and PPF installation, along with window tinting for both vehicles, homes, and businesses. With additional experience in Tesla vehicles, we tailor many of our PPF, window tinting, and vinyl wrap services to those high-profile EVs that you know and love. Trust us with your prized possession and watch as we transform it in a positive way!
Quick Links
SCHAUMBURG LOCATION
Address: 811 W. Higgins Rd., #B
Schaumburg, IL 60195
United States
Phone:
(847) 912-1869
GLENDALE HEIGHTS LOCATION
Address: 2021 Bloomingdale Rd.
Glendale Heights, IL 60139
United States
Phone: (224) 353-6624
Contact Details
Email: info@umbrawindowtinting.com
BUSINESS HOURS
Monday - Friday: 8:00 AM - 5:00 PM
Saturday: 8:00 AM - 2:00 PM
Sunday : Closed
OUR SOCIAL MEDIA
Umbra Window Tinting Designed by the team at Detailers Roadmap, a platform developed for detailing operators across the globe.